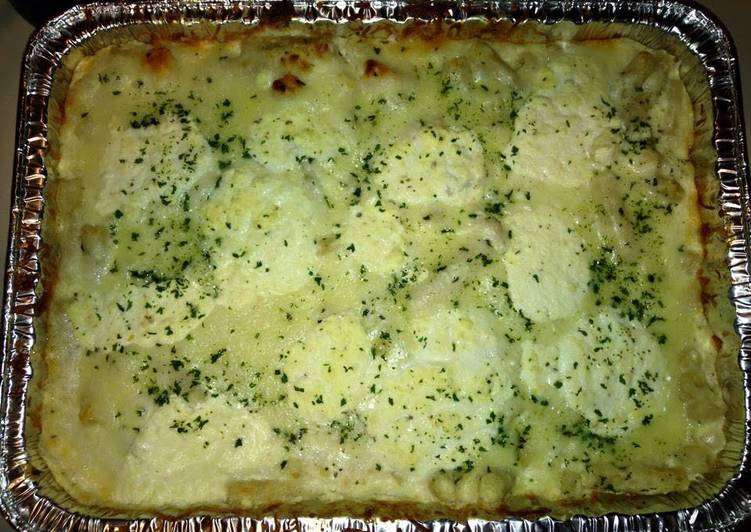
Chicken Alfredo Baked Ziti "cheesy".
Literally this is an easy recipe just when the additional ones. I think the hardest allocation is to find the best ingredients consequently you can enjoy the delectable Chicken Alfredo Baked Ziti "cheesy" for your lunch with your friends or family.
You can have Chicken Alfredo Baked Ziti "cheesy" using 12 ingredients and 9 steps. Here is how you achieve it.
Ingredients of Chicken Alfredo Baked Ziti "cheesy"
- You need 2 box of Ziti noodles.
- It's 1 packages of Thin cut chicken breast.
- You need 2 cup of Need to buy 2 large cups of ricotta cheese.
- It's 2 of Eggs.
- It's 1 packages of Shredded mozzarella cheese.
- Prepare 2 packages of Italian style shredded cheese.
- Prepare 1 packages of Parmesan shredded cheese.
- It's of Italian seasoning.
- You need of Garlic and onion powder.
- Prepare of Salt and pepper.
- You need of Parsley flakes.
- Prepare 2 can of Ragu Alfredo sauce.
Chicken Alfredo Baked Ziti "cheesy" instructions
- Boil water once boiled add ziti noodles and a pinch of salt.
- While noodles boil start to rinse the chicken cut fat of and cut in small pieces.
- Put a little butter in pan cook chicken season with Italian seasoning salt and pepper.
- By the time your chicken is cooked noodles should be done drain noodles put in a large tin pan.
- Put Both cups of cheese in a large bowl with 2 eggs stir and season add a handful of shredded mozzarella and stir.
- Add the ricotta cheese from bowl to tin pan and stir.
- Add 2 jars of the Alfredo sauce and stir then add all packages of cheese save a hand full.
- Drizzle the top with sauce cover with cheese and sprinkle parsley flakes.
- Oven on 400 for 40 minutes.
I would just to let you know recipe already tested by team, you suitably follow every the cooking steps and prepare the ingredients to acquire the appetizing Chicken Alfredo Baked Ziti "cheesy". If you have questions or requests on this article, absorb contact us as soon as possible. And don't forget to bookmark this page therefore you will easily locate it another time later. The content source: https://cookpad.com